抛弃猫咪,在 Windows 平台上拥抱 sing-box
前言
天下苦 Clash 久矣,占用高,效率低,这个时候就不得不放出这张图了

最近看了不良林的视频,参考了下 sing-box 的官方文档,决定奔向 sing-box 的怀抱了,这个 DNS 分流太爽啦,完美解决了我的 IPv6 需求
坑
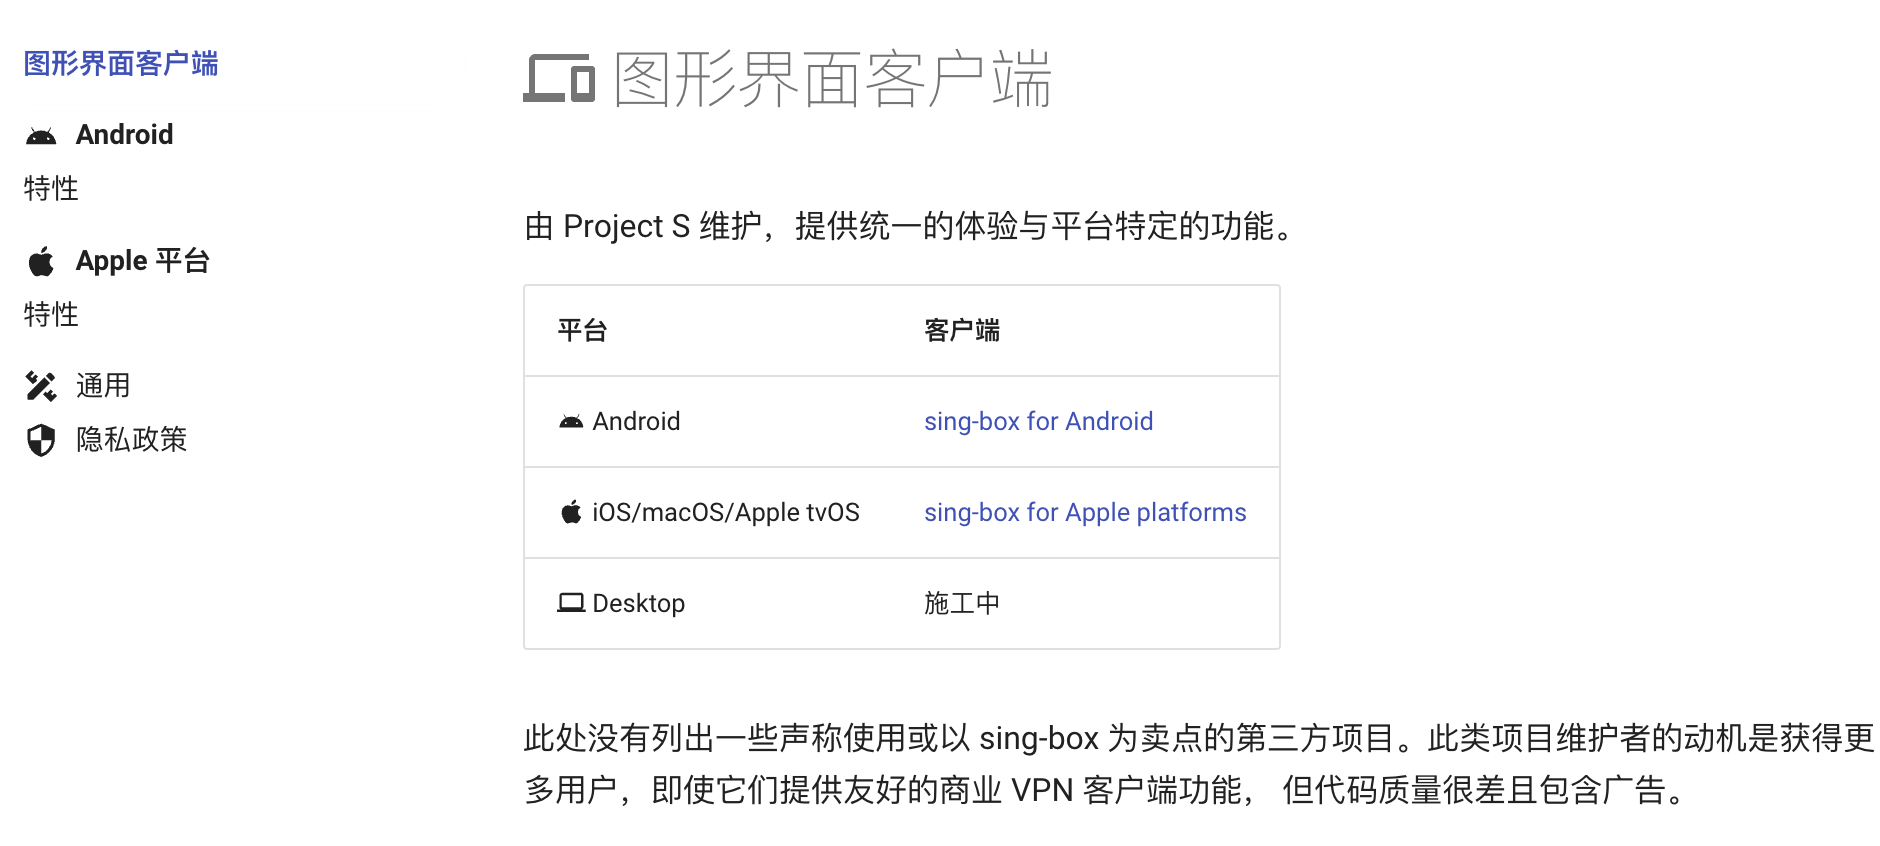
sing-box 官方的 GUI 支持 Android、Apple,但居然不支持 PC,很奇怪,明明 PC 用户最多

虽然有 GUI.for.SingBox 和 Hiddify-Next 这种第三方 GUI,但是他们做了简化处理,完全无法发挥 sing-box 强大的 DNS 分流功能。义眼丁真,鉴定为乐色
好在 sing-box 裸核就能跑,一个核心一个配置文件直接开跑
实操
直接下载核心
Ref: https://github.com/Toperlock/sing-box-subscribe/blob/main/instructions/README.md
操作
新建 sing-box 文件夹
下载并解压 Windows 客户端程序 sing-box-windows-amd64.zip
你可能已经注意到了所有 AMD64 架构会有两个版本(darwin、linux 和 windows 都有),一个只标了
amd64,一个是amd64v3,要如何选择呢?这东西是 GO 1.18 引入的 Architecture Level1,不同之处在于编译器能够使用到的指令集:
- GOAMD64=v1 (default): Baseline. 所有 64 位 x86 处理器都能使用
- GOAMD64=v2: v1 所有的指令集,加上 CMPXCHG16B, LAHF, SAHF, POPCNT, SSE3, SSE4.1, SSE4.2, SSSE3
- GOAMD64=v3: v2 所有的指令集,加上 AVX, AVX2, BMI1, BMI2, F16C, FMA, LZCNT, MOVBE, OSXSAVE
- GOAMD64=v4: v3 所有的指令集,加上 AVX512F, AVX512BW, AVX512CD, AVX512DQ, AVX512VL
简单来说就是 Level 越高,可用指令也就越新,编译出来的代码性能可能有一定提升,但是兼容性就越差。如果你不知道你的 CPU 支持什么指令集,那么用
amd64准没错
创建
.bat包含内容的批处理文件- 创建
start.bat用于启动 sing-box
1
2
3
4@echo off
cd /d %~dp0
start /min sing-box.exe run
exit创建
debug.bat用于 debug sing-box 配置文件(需管理员权限)1
2
3
4
5
6
7
8
9
10
11
12
13
14
15
16@echo off
chcp 65001 > nul
cd /d %~dp0
:: 检查脚本是否以管理员权限运行
net session >nul 2>&1
if %errorLevel% == 0 (
echo 管理员权限已检测到。正在以提升的权限运行 sing-box.exe...
sing-box.exe run
) else (
echo 错误:此脚本需要管理员权限才能运行。
echo 请以管理员身份重新运行此脚本。
)
pause
- 创建
参考客户端配置示例,根据需要进行修改,并将文件名改为
config.json,然后将批处理文件放在与sing-box.exe同一文件夹下右键单击
sing-box.exe,选择属性,转到兼容性,然后选择「以管理员身份运行该程序」运行
start.bat批处理文件,然后在出现的用户帐户控制对话框中选择「是」
美化
- 将 GUI.for.SingBox 下载到
sing-box目录下 - 创建
start.bat的快捷方式,丢到桌面上 - 将快捷方式重命名为 sing-box,并将图标改为刚才下载的
GUI.for.SingBox.exe
缺点
- sing-box 内核无法自动更新
利用包管理器下载(推荐)
Ref: https://github.com/Toperlock/sing-box-subscribe/blob/main/instructions/README.md,
https://github.com/winsw/winsw/blob/v3/docs/xml-config-file.md,
下载
安装 Scoop 或 Chocolatey
Scoop
运行 PowerShell
1
2
Set-ExecutionPolicy RemoteSigned -Scope CurrentUser
iwr -useb get.scoop.sh | iex验证安装
1
scoop --version
完整示例
1
2
3
4
5
6
7
8
9
10
11
12
13
14
15
PS C:\Windows\system32> Set-ExecutionPolicy RemoteSigned -Scope CurrentUser
Execution Policy Change
The execution policy helps protect you from scripts that you do not trust. Changing the execution policy might expose you to the security risks described in the about_Execution_Policies help topic at https:/go.microsoft.com/fwlink/?LinkID=135170. Do you want to change the execution policy?
[Y] Yes [A] Yes to All [N] No [L] No to All [S] Suspend [?] Help (default is "N"): Y
PS C:\Windows\system32> iwr -useb get.scoop.sh | iex
Initializing...
Downloading scoop...
Extracting...
Creating shim...
Scoop was installed successfully!
PS C:\Windows\system32> scoop --version
Current Scoop version: 0.x.x
Chocolatey
运行 PowerShell
1
Set-ExecutionPolicy Bypass -Scope Process -Force; [System.Net.ServicePointManager]::SecurityProtocol = [System.Net.ServicePointManager]::SecurityProtocol -bor 3072; iex ((New-Object System.Net.WebClient).DownloadString('https://community.chocolatey.org/install.ps1'))
验证安装
1
choco --version
完整步骤示例
1
2
3
4
5
6
7
8
9
10
11
12
PS C:\Windows\system32> Set-ExecutionPolicy Bypass -Scope Process -Force
PS C:\Windows\system32> [System.Net.ServicePointManager]::SecurityProtocol = [System.Net.ServicePointManager]::SecurityProtocol -bor 3072
PS C:\Windows\system32> iex ((New-Object System.Net.WebClient).DownloadString('https://community.chocolatey.org/install.ps1'))
Getting latest version of the Chocolatey package for download.
...
Chocolatey v0.10.x
...
PS C:\Windows\system32> choco --version
0.10.x
安装 sing-box
1
2
3
4
5
6
7
# 如果你使用 Scoop
scoop install sing-box
# 如果你使用 Chocolatey
choco install sing-box
配置
新建 sing-box 文件夹
下载 WinSW-x64.exe 并重命名为
winsw.exe创建
winsw.xml文件,内容如下1
2
3
4
5
6
7
8
9
10<service>
<id>sing-box</id>
<name>sing-box</name>
<description>sing-box Service</description>
<download from="https://你的订阅链接" to="%BASE%\config.json" auth="sspi" />
<executable>C:\Users\<你的用户名>\scoop\shims\sing-box.exe</executable>
<arguments>run</arguments>
<log mode="reset" />
<onfailure action="restart" />
</service><download>:在指定的<executable>运行前,WinSW 会从指定的 URL 获取资源并将其作为文件放到本地。%BASE%指向 WinSW 的目录,所以这里将订阅链接的内容重命名为config.json并放到当前目录下(可以删去这行直接把config.json丢在该目录下)<executable>:指定要启动的可执行文件,这里指定为 Scoop 安装的 sing-box 的路径,这个路径可以在安装完 sing-box 之后使用:Get-Command sing-box.exe获取<arguments>:指定要传递给可执行文件的参数,这里传递的是run。因为执行的位置就在当前路径,所以不需要指定config.json的路径
Shift + 右键 选择 在此处打开 Powershell 窗口,键入
./winsw.exe install安装服务,然后./winsw.exe start来启动服务安装完成后系统每次重启都会自动运行 sing-box,启动后将会在当前目录下看到
winsw.wrapper.log文件,这个文件包含服务启动时的日志,如果一切正常,那么日志应该是这样,且目录中的winsw.out.log保存了 sing-box 运行时产生的日志1
2
3
4
5
6
7
8
91234-56-78 12:34:56,789 DEBUG - Starting WinSW in console mode
1234-56-78 12:34:56,789 DEBUG - Starting WinSW in console mode
1234-56-78 12:34:56,789 INFO - Starting service 'sing-box (sing-box)'...
1234-56-78 12:34:56,789 DEBUG - Starting WinSW in service mode
1234-56-78 12:34:56,789 INFO - Service 'sing-box (sing-box)' started successfully.
1234-56-78 12:34:56,789 INFO - Downloading: https://你的订阅链接 to %BASE%\config.json. failOnError=False
1234-56-78 12:34:56,789 INFO - Starting C:\Users\<你的用户名>\scoop\shims\sing-box.exe run
1234-56-78 12:34:56,789 INFO - Started process 12345
1234-56-78 12:34:56,789 DEBUG - Forwarding logs of the process System.Diagnostics.Process (sing-box) to WinSW.ResetLogAppender
设置防火墙
控制面板 -> 所有控制面板项 -> Windows Defender 防火墙 -> 允许的应用 -> 允许其他应用,目录为 C:\users\<你的用户名>\scoop\apps\sing-box\<版本号>\sing-box.exe,然后「重启电脑」
编译应用
安装 Python
安装相关组件
1
pip install pyqt5 PyInstaller
把这两个 ico 丢进
exe文件夹在
sing-box文件夹下创建一个exe文件夹,再在里面新建一个 Python 脚本,命名为sing-box_script.py,内容如下1
2
3
4
5
6
7
8
9
10
11
12
13
14
15
16
17
18
19
20
21
22
23
24
25
26
27
28
29
30
31
32
33
34
35
36
37
38
39
40
41
42
43
44
45
46
47
48
49
50
51
52
53
54
55
56
57
58
59from PyQt5.QtWidgets import QApplication, QSystemTrayIcon, QMenu
from PyQt5.QtGui import QIcon
from PyQt5.QtCore import Qt
import sys
import subprocess
import webbrowser
# 常量
ICON_OPEN_PATH = r'<open.ico 的绝对路径>'
ICON_CLOSE_PATH = r'<close.ico 的绝对路径>'
EXE_PATH = r'<winsw.exe 的绝对路径>'
WEBSITE_URL = "http://127.0.0.1:9090/ui/#/proxies"
class SingBoxScript(QApplication):
def __init__(self, argv):
super().__init__(argv)
self.tray_icon = QSystemTrayIcon(self)
self.tray_icon.setIcon(QIcon(ICON_OPEN_PATH)) # 设置初始图标
self.tray_icon.setToolTip("sing-box") # 鼠标悬停在系统托盘图标上时显示的文本
# 创建菜单
self.menu = QMenu()
open_action = self.menu.addAction("打开")
close_action = self.menu.addAction("关闭")
quit_action = self.menu.addAction("退出")
# 连接菜单项的动作
open_action.triggered.connect(self.on_open)
close_action.triggered.connect(self.on_close)
quit_action.triggered.connect(self.quit)
# 设置托盘图标菜单
self.tray_icon.setContextMenu(self.menu)
# 显示托盘图标
self.tray_icon.show()
# 连接双击事件
self.tray_icon.activated.connect(self.on_icon_activated)
def on_open(self):
subprocess.run([EXE_PATH, 'start'])
self.tray_icon.setIcon(QIcon(ICON_OPEN_PATH))
def on_close(self):
subprocess.run([EXE_PATH, 'stop'])
self.tray_icon.setIcon(QIcon(ICON_CLOSE_PATH))
def open_website(self):
webbrowser.open(WEBSITE_URL)
def on_icon_activated(self, reason):
if reason == QSystemTrayIcon.DoubleClick:
self.open_website()
if __name__ == "__main__":
app = SingBoxScript(sys.argv)
sys.exit(app.exec_())在
exe文件夹下打开终端,开始编译1
pyinstaller --onefile --windowed --icon=open.ico sing-box_script.py
编译成功的文件在
dist文件夹下,创建两个快捷方式,一个丢到桌面上,另一个操作如下:- 按 Win + R 组合键打开「运行」对话框
- 输入
shell:startup并回车打开「启动」文件夹 - 将快捷方式丢进去


