使用 WARP 解锁 ChatGPT 访问
问题
- 机房 RackNerd 洛杉矶 dc02
- 之前一直用网页版的 ChatGPT,今天用了下移动端发现不可用
- 看来是整个 IP 段都被 OpenAI 拉黑了
思路
找一台能解锁 ChatGPT 的 VPS,利用 Xray 的出站规则和路由规则进行前置代理和分流
方案
Cloudflare 的 WARP 可以免费用,参考官方教程
1 | Cloudflare WARP packages |
WARP 的 IP 会与落地机处于同一地区
操练
建议直接使用第三方脚本
Ref: https://github.com/fscarmen/unlock_warp
1 | sudo -i |
依次选择
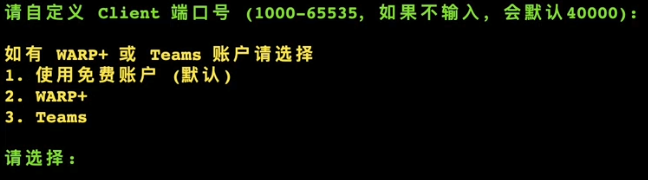
2->1->2->13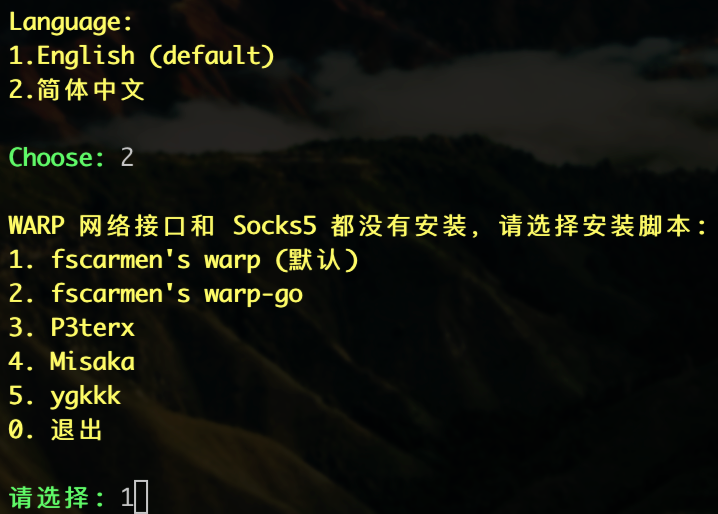
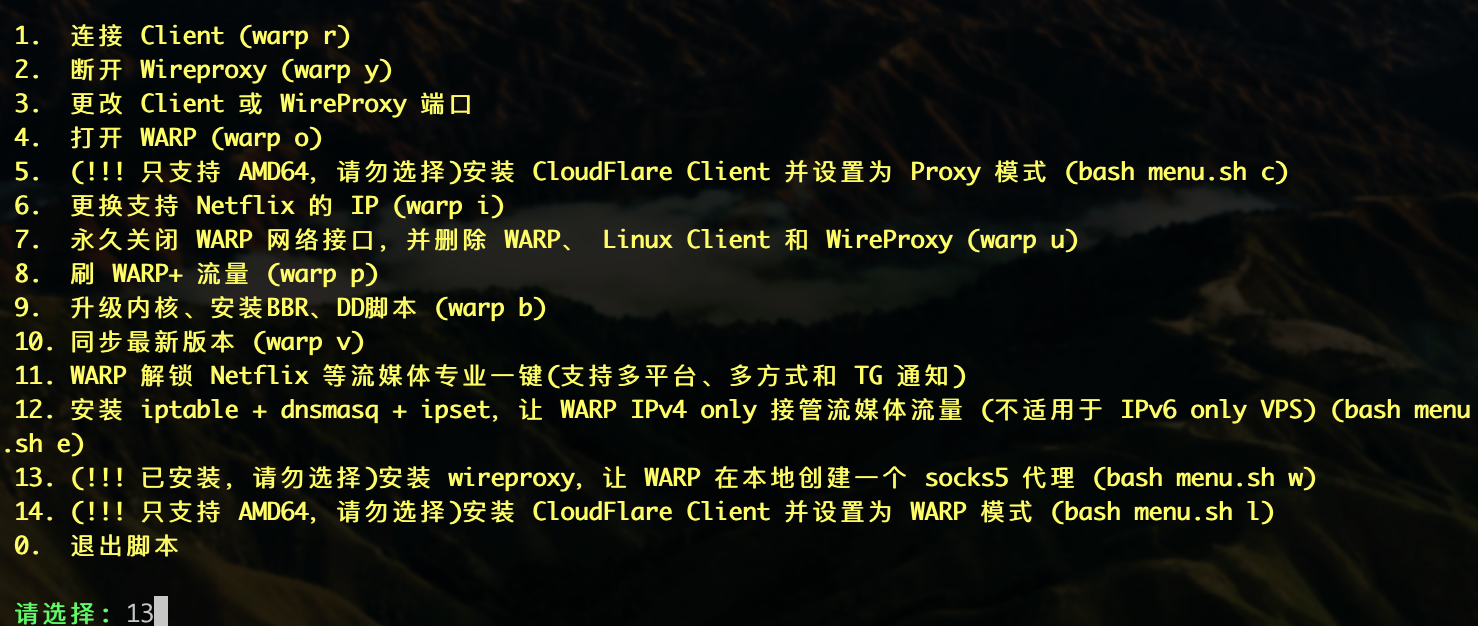
接下来会让你设置端口和账户,直接默认回车就好了
后面如何添加出站和路由规则跟上面一样的
调用脚本:
warp [option] [lisence]
安装 WARP
本文以 Debian11 系统为例
安装存储库的 GPG 密钥1
curl https://pkg.cloudflareclient.com/pubkey.gpg | sudo gpg --yes --dearmor --output /usr/share/keyrings/cloudflare-warp-archive-keyring.gpg
将存储库添加到计算机的 apt 源1
echo "deb [arch=amd64 signed-by=/usr/share/keyrings/cloudflare-warp-archive-keyring.gpg] https://pkg.cloudflareclient.com/ $(lsb_release -cs) main" | sudo tee /etc/apt/sources.list.d/cloudflare-client.list
更新 apt1
sudo apt update
安装 WARP1
apt install cloudflare-warp
注册 WARP1
warp-cli register
设置为代理模式(一定要先设置)1
warp-cli set-mode proxy
连接 WARP1
warp-cli connect
可能出现的错误
部分用到的命令系统可能没有安装,使用apt-get install [packagename]安装后再试安装 WARP 时报错:1
2
3
4E: Malformed entry 1 in list file /etc/apt/sources.list.d/cloudflare-client.list (Component)
E: The list of sources could not be read.
E: Malformed entry 1 in list file /etc/apt/sources.list.d/cloudflare-client.list (Component)
E: The list of sources could not be read.这是由于之前有代码没有执行成功,比如缺少命令。执行如下命令后再试:1
rm /etc/apt/sources.list.d/cloudflare-client.list
报错:bash: lsb_release: command not found
安装lsb_release即可:apt-get install lsb-release执行warp-cli register失败:1
Error: "Unable to connect to CloudflareWARP daemon. Maybe the daemon is not running?"
可能是缺少systemctl命令,安装后执行:systemctl start warp-svc
服务端设置
x-ui
安装 x-ui
1 | bash <(curl -Ls https://raw.githubusercontent.com/FranzKafkaYu/x-ui/master/install.sh) |
修改配置文件
面板设置 -> xray 相关设置,替换成下面这段,然后保存配置 -> 重启面板:
1
2
3
4
5
6
7
8
9
10
11
12
13
14
15
16
17
18
19
20
21
22
23
24
25
26
27
28
29
30
31
32
33
34
35
36
37
38
39
40
41
42
43
44
45
46
47
48
49
50
51
52
53
54
55
56
57
58
59
60
61
62
63
64
65
66
67
68
69
70
71
72
73
74
75
76
77
78
79
80
81
82
83
84
85
86
87
88
89
90
91
92
93
94{
"api": {
"services": [
"HandlerService",
"LoggerService",
"StatsService"
],
"tag": "api"
},
"inbounds": [
{
"listen": "127.0.0.1",
"port": 62789,
"protocol": "dokodemo-door",
"settings": {
"address": "127.0.0.1"
},
"tag": "api"
}
],
"outbounds": [
{
"protocol": "freedom",
"settings": {}
},
{
"tag": "socks5-warp",
"protocol": "socks",
"settings": {
"servers": [
{
"address": "127.0.0.1",
"port": 40000
}
]
}
},
{
"protocol": "blackhole",
"settings": {},
"tag": "blocked"
}
],
"policy": {
"levels": {
"0": {
"handshake": 10,
"connIdle": 100,
"uplinkOnly": 2,
"downlinkOnly": 3,
"statsUserUplink": true,
"statsUserDownlink": true,
"bufferSize": 10240
}
},
"system": {
"statsInboundDownlink": true,
"statsInboundUplink": true
}
},
"routing": {
"rules": [
{
"type": "field",
"outboundTag": "socks5-warp",
"domain": [
"geosite:openai"
]
},
{
"inboundTag": [
"api"
],
"outboundTag": "api",
"type": "field"
},
{
"ip": [
"geoip:private"
],
"outboundTag": "blocked",
"type": "field"
},
{
"outboundTag": "blocked",
"protocol": [
"bittorrent"
],
"type": "field"
}
]
},
"stats": {}
}
XrayR
安装 XrayR
1 | wget -N https://raw.githubusercontent.com/XrayR-project/XrayR-release/master/install.sh && bash install.sh |
修改配置文件
路径:
/etc/XrayR
- 修改
config.yml:取消注释RouteConfigPath和OutboundConfigPath后的路径 - 修改
custom_outbound.json为:1
2
3
4
5
6
7
8
9
10
11
12
13
14
15
16
17
18
19
20
21
22
23
24
25
26
27
28
29
30[
{
"tag": "IPv4_out",
"protocol": "freedom",
"settings": {}
},
{
"tag": "IPv6_out",
"protocol": "freedom",
"settings": {
"domainStrategy": "UseIPv6"
}
},
{
"tag": "socks5-warp",
"protocol": "socks",
"settings": {
"servers": [
{
"address": "127.0.0.1",
"port": 40000
}
]
}
},
{
"protocol": "blackhole",
"tag": "block"
}
] - 修改
route.json为:1
2
3
4
5
6
7
8
9
10
11
12
13
14
15
16
17
18
19
20
21
22
23
24
25
26
27
28
29
30
31{
"domainStrategy": "IPOnDemand",
"rules": [
{
"type": "field",
"outboundTag": "block",
"ip": [
"geoip:private"
]
},
{
"type": "field",
"outboundTag": "block",
"protocol": [
"bittorrent"
]
},
{
"type": "field",
"outboundTag": "socks5-warp",
"domain": [
"geosite:openai"
]
},
{
"type": "field",
"outboundTag": "IPv4_out",
"network": "udp,tcp"
}
]
} - 重启 XrayR:
xrayr restart
ARM 机器的安装方法
第三方脚本
Ref: https://github.com/fscarmen/unlock_warp
1 | sudo -i |
依次选择2->1->2->13接下来会让你设置端口和账户,直接默认回车就好了后面如何添加出站和路由规则跟上面一样的
调用脚本:warp [option] [lisence]
wgcf
WARP 官方并未支持 ARM 架构,不过有人做了类似的轮子,拿过来用就好了,教程参考 Xray 的 Wiki
以下以 Ubuntu 22.04 系统为例
安装 wgcf
仓库:https://github.com/ViRb3/wgcf
1 | wget https://github.com/ViRb3/wgcf/releases/download/v2.2.20/wgcf_2.2.20_linux_arm64 # 下载预编译二进制文件 |
将会生成 wgcf-account.toml、wgcf-profile.conf 两个文件,wgcf-profile.conf 拷贝内容如下:
1 | [Interface] |
添加出站规则
1 | { |
添加路由分流
1 | { |
Alpine
配置环境
1 | apk add wget bash sudo |
WARP 安装
1 | wget -N https://gitlab.com/fscarmen/warp/-/raw/main/menu.sh && bash menu.sh |